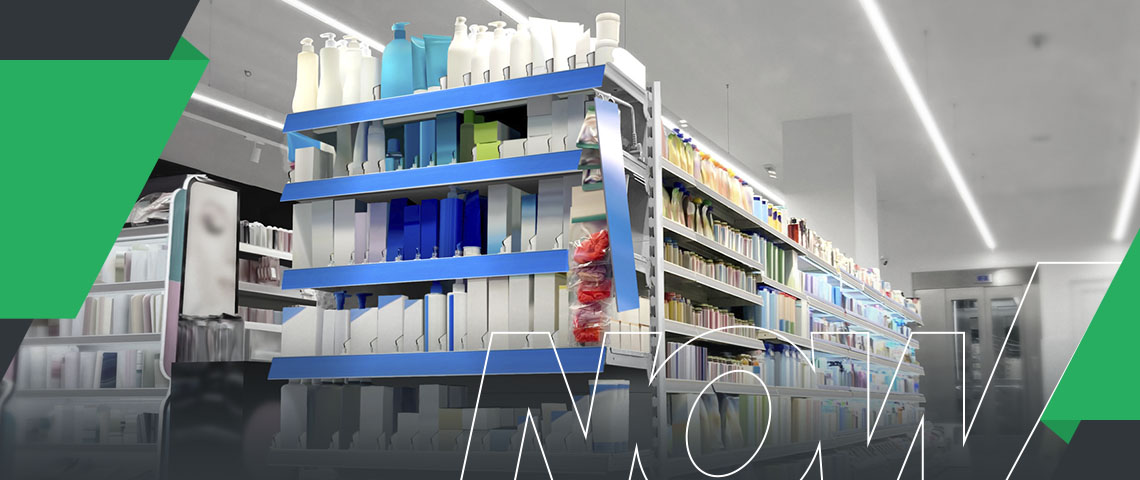
Retail displays make your products more visually appealing, attracting customers’ attention and encouraging purchases. These presentations include brochure holders, counter racks and multi-tiered displays. Setting up displays in stores is an art form combining creativity and strategic planning. Following industry best practices will optimize your product’s visibility and captivate shoppers.
From layout techniques to choosing the ideal setup, follow all the steps when using retail display stands to their full potential. Here are five retail display strategies that resonate with customers.
1. Establish Your Goals
If you promote or sell multiple items, you must decide what to prioritize in your current displays. High-ticket products are often the center of attention in a store’s layout plans. Consider what you need to sell fast, what brings the most profits and what is new and popular. Whichever factors are most critical to your business will determine which displays you should use.
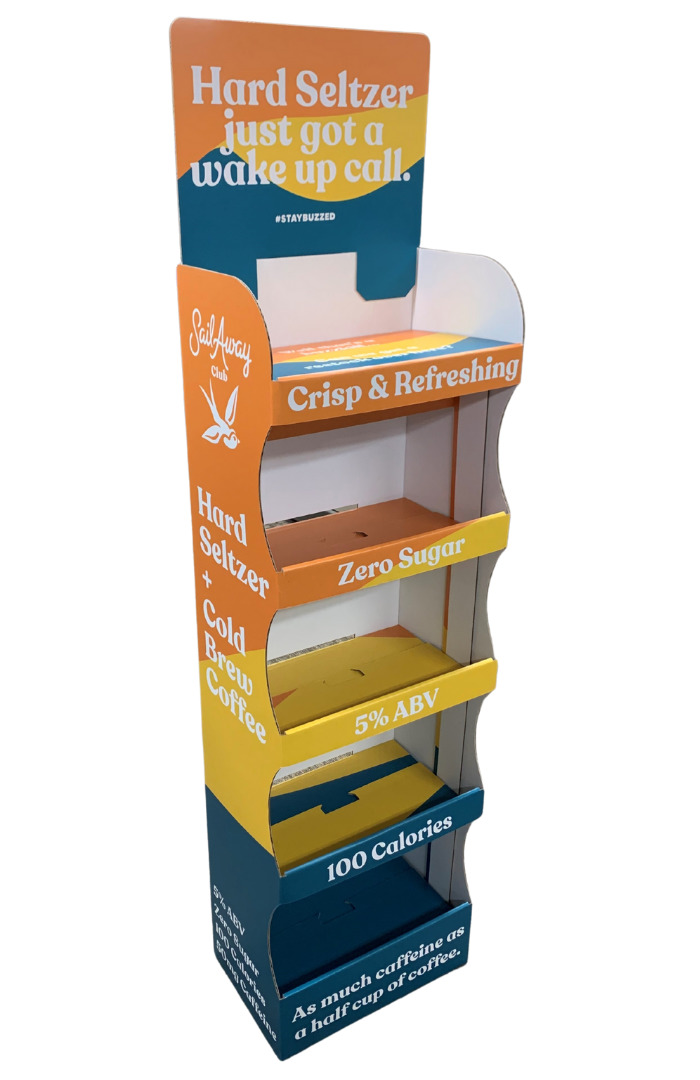
2. Choose the Correct Display for Your Products

Once you know what to focus on, choose a fitting display for your products and related accessories to enhance your campaign’s visual appeal. Here are some categories retailers and vendors can choose from:
- Counter displays
- Endcap displays
- Floor displays
- Full-view displays
- Half-view displays
- Inline displays
- Jewelry displays
- Lighted displays
- Pallet displays
- Power wing/sidekick
- Tower displays
- Wall displays
3. Maximize Visual Appeal
Carefully consider the layout if you want a more strategic way to display and sell your items. Whether you install a display yourself or direct a retailer, visualize how the products will look once they are on the shelf. Think about the month, season, upcoming holidays, special events in the store or even local happenings as you plan the display stand’s layout.
You must understand your customer’s psychographics to maximize visual appeal. Learn what colors resonate with them, what drives their purchases and how to incorporate this information into your display. You can also add other senses to your creative display. If your product allows it, find a way to let customers touch items before purchasing. Alternatively, consider incorporating scent marketing by adding a subtle, ambient smell to the products on your display.
Show the product’s price to eliminate confusion among buyers. Create color blocks that align with your brand’s color palette, allowing shoppers to associate the display with your products. Use brighter shades where possible to help your display and products pop. The aim is to strike a balance in the display, with enough contrast to highlight products and white space to avoid overwhelming the senses.
4. Implement Merchandising Techniques in Retail
Once you have chosen your ideal display stand, ordered the components and have all your tools in one place, it’s time to put it all together.
If you are unsure how to display merchandise in a retail store, consider cross-merchandising. This effective strategy places complementary items together. For example, if you manufacture stationery, add pens, pencils, erasers and similar products to create a more profound sense of value in the consumer’s mind. This practice helps shoppers discover your product line and boosts sales by simplifying their buying experience.
You can also opt to add additional creative signage to emphasize your promotion:
- Use readable fonts.
- Keep it clean and simple.
- Add a brief, attention-getting call to action.
- Incorporate second-person pronouns like “you” and “yours.”
5. Update or Refresh Your Displays
Retail displays attract more attention to your products because over 70% of the information we process comes through sight. When arranging your merchandise, place popular, new, high-ticket and quick-sale items at the forefront. Showcase a mix of products to maximize the space. Also, consider factors such as the store’s lighting and floor plan in your final arrangement.
Implement your new retail strategies by refreshing your display a few times yearly to keep it relevant and pristine. You can opt for a structural refresh, adding signage, modularity or selectively remodeling. You can also consider a brand-new display with updated colors and graphics.
Partner With Creative Displays Now to Upgrade Your Retail Displays

A retail display stand can serve a vital function, showcasing and protecting merchandise until someone buys it and takes it home. But only if you use savvy techniques — otherwise, you might miss the boat. Are you ready to use this marketing advice and find success with your retail display stands?
Creative Displays Now has over 60 years of experience in the packaging and display industry. We offer over 99% on-time delivery and high-quality print and design services. Contact us to start your project today and improve your product awareness and sales.